 Here's my backdrop for today. I spent a while trolling online tutorials for "glass style" designs. Some are pretty hard to understand, and you don't really get why you're doing what they say. It helps to understand the physicial effects as much as what steps to do in PhotoShop.
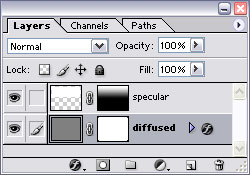 The glass look is a combination of two layers. One is the base, which has highly diffused lighting. It gives the surface its overall color and shading. The top layer is a shiny, very reflective sheen.
I'm a fan of using layer styles versus "old school" gradients and layers made with filled pixels. They scale better and are easier to change. Now smart objects can make things even more adjustable.
The base layer has a layer style which makes whatever color the pixels are in the layer itself irrelevant except for opacity. It can also be applied to a shape object.
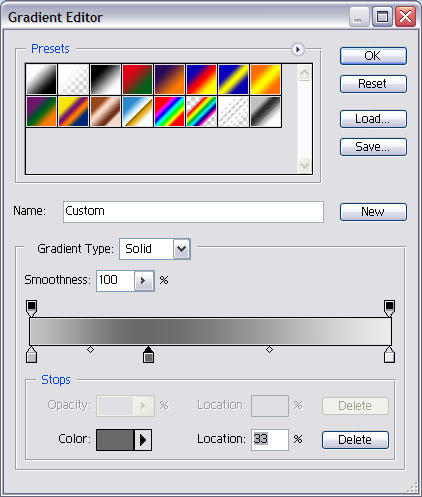 There's a gradient in normal mode (that's what completely covers the pixels) that I tweaked a bit. It goes from medium to dark, to light, all grayscale. The medium gives the bottom of the object a little lighting which works great for beveled objects. The dark color stop is at the 33% position.
 Then I use the color overlay setting to add color. Mode set to color, at about 45%.
 Most glass style items are beveled. It helps give them dimension. The bevel size depends on the size of the object. Mine is 8, with soften set to 14.
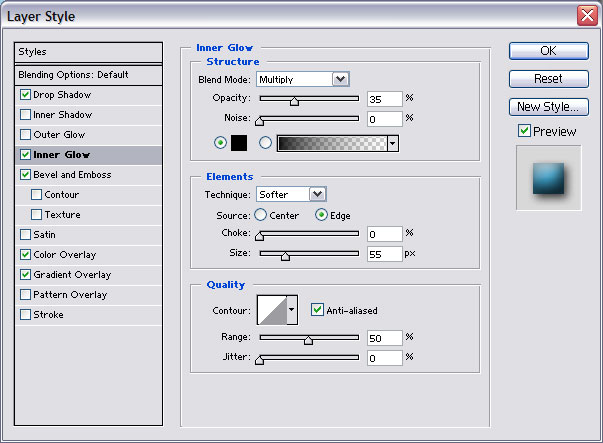 Then I throw on inner glow for good measure. Change the mode to multiply and color to black. Opacity 35. Size really high so it's fuzzy (mine is 55) and 0 choke.
If you're making a button, add a drop shadow. That's the base layer.
 The top layer relies on the shape more than the layer style. It needs to be a more rounded version of the overall shape, covering no more than 80% of the top half. The smaller the more spherical the illusion of the object. A bevelled button would have essentially a rounded corner box. A sphere would have a small circle. Full white fill. Overlay mode at 25% fill.
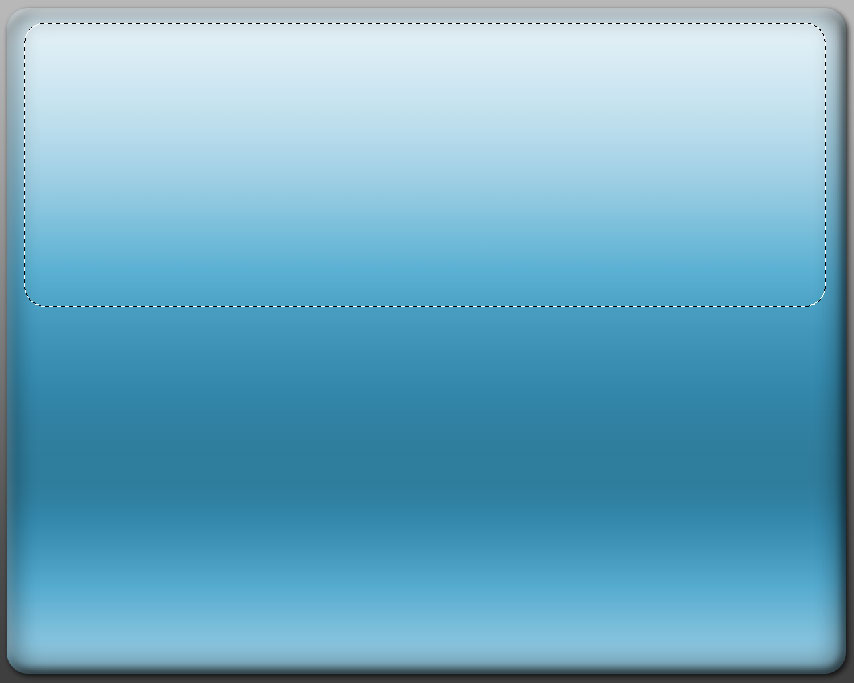
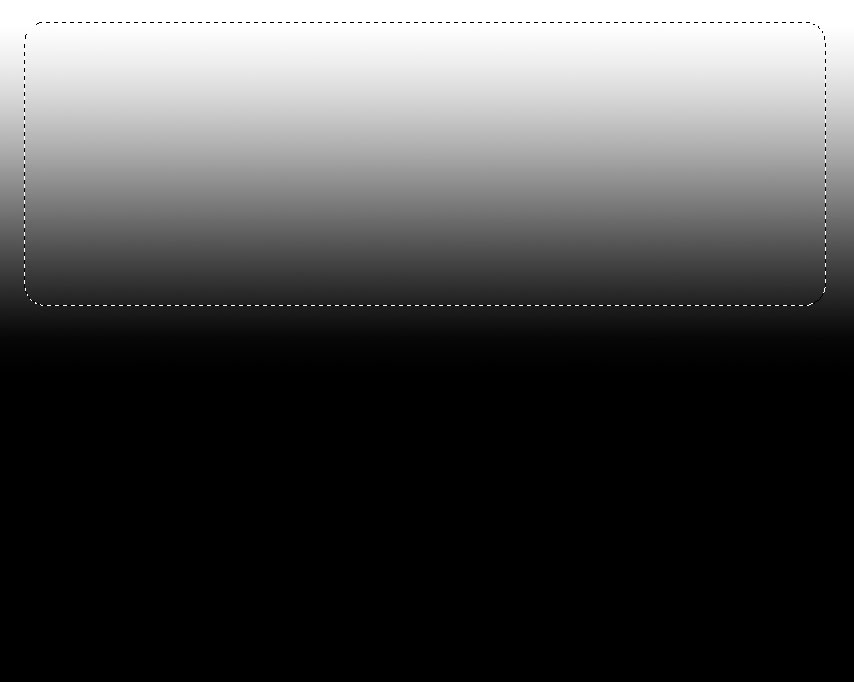 For a bevelled button, it might help to add a layer mask and give the top layer a gradient transparency with 100% at the top of the visible area and 15% at the bottom. This makes the layer more subtle, and resembles the effect that the specular highlights are more visible at certain angles (usually closest to the more rounded/angled part of the surface).
Here's the final, bevelled button:
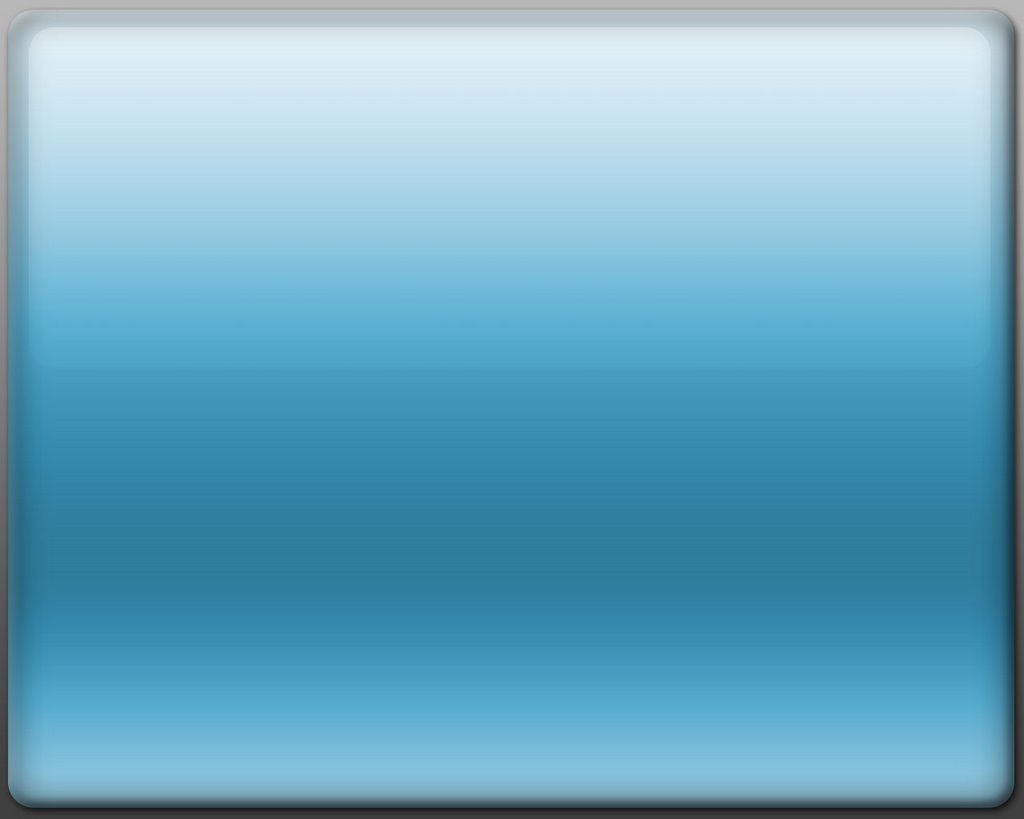 To make this a backdrop, I cropped away the edges that had the bevel and inner glow.
I'm not sure why I went through all the detail for this design since there are tons of glass button tutorials out there. But I wanted some practice writing.